Customize Consent Preferences

We use cookies to help you navigate efficiently and perform certain functions. You will find detailed information about all cookies under each consent category below.

The cookies that are categorized as "Necessary" are stored on your browser as they are essential for enabling the basic functionalities of the site. ... 

Always Active

Necessary cookies are required to enable the basic features of this site, such as providing secure log-in or adjusting your consent preferences. These cookies do not store any personally identifiable data.

No cookies to display.

Functional cookies help perform certain functionalities like sharing the content of the website on social media platforms, collecting feedback, and other third-party features.

No cookies to display.

Analytical cookies are used to understand how visitors interact with the website. These cookies help provide information on metrics such as the number of visitors, bounce rate, traffic source, etc.

No cookies to display.

Performance cookies are used to understand and analyze the key performance indexes of the website which helps in delivering a better user experience for the visitors.

No cookies to display.

Advertisement cookies are used to provide visitors with customized advertisements based on the pages you visited previously and to analyze the effectiveness of the ad campaigns.

No cookies to display.

nandroid backup したイメージからファイルを抽出できた

私のHT-03Aはnandroid restore すると起動しないので、ドコモ版のROMに戻せなくなってしまった。nandroid backup はしたが、「羅針盤」や着信音のファイルバックアップを取っていなかったので、これらは永久に失われたかと思っていたが、復活させる方法がわかった。

前提条件として以下が必要である。

・リカバリーイメージを Cyanogen Recovery 1.4 に書き換えている
・nandroid backup が取ってある

具体的な方法は以下の通り。

1.リカバリーモードで起動し、コンソールに入る
2.PCとつなぎ、adb shell する
3.mound sdcard (sdカードをマウントする)
4.nandroid backup したイメージからファイルを展開するためのディレクトリを作成し、そこに cd する
5. /sbin/unyaffs <nandroid backup system.img or data.img file>

5. では、/sdcard/nandroid の中のバックアップフォルダの中にある、system.img または、data.img のファイル名をフルパスで指定する。ファイルを展開する場所は、unyaffs を実行したディレクトリと決まっているようなので、どこで実行するか注意が必要。

上記は、nandroid が restore するときに実際にやっていることを手動でやったに過ぎない。nandroid は/system パーティションと /data パーティション については、backup時に yaffs2image コマンドでイメージファイルを作り、restore時に unyaffs で元に戻している。

ちなみに YAFFS (Yet Another Flash File System) はNAND Flash メモリ用のファイルシステムだそうだ。

これによって、SDカード上にドコモROMの/system 以下が展開できたので、ドコモROMに入っていた「羅針盤」アプリと着信音、通知音などを復活させることができた。

応用例として、HTC がサイトで配布しているAndroid 1.6のシステムイメージ をunyaffs すれば /system 以下のファイルツリーが得られる。その中身をカスタマイズして、再度 ZIPで固めてから署名をして自分用のカスタムROMを作る方法が、ここに書いてある。
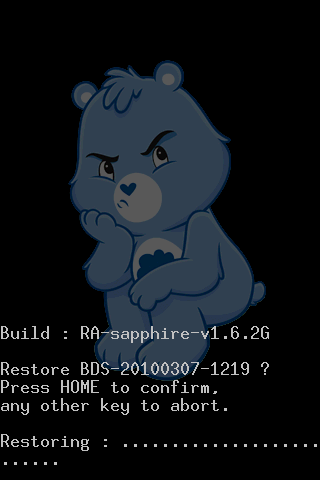
[GUIDE] How to create a your own ROM

PAGE TOP