NTPサーバ構築に続いて、Raspberry Piに温度センサーを付けてみました。使ったセンサーは、BoschのBMP180というチップを使ったモジュールで、ebay.com で$2.88で買いました。
”Raspberry Pi 温度センサー”で検索するとBMP085というチップがよく出てきますが、BMP180はBMP085の後継機種だそうです。BMP085、BMP180は気圧と温度を測ることができるチップです。
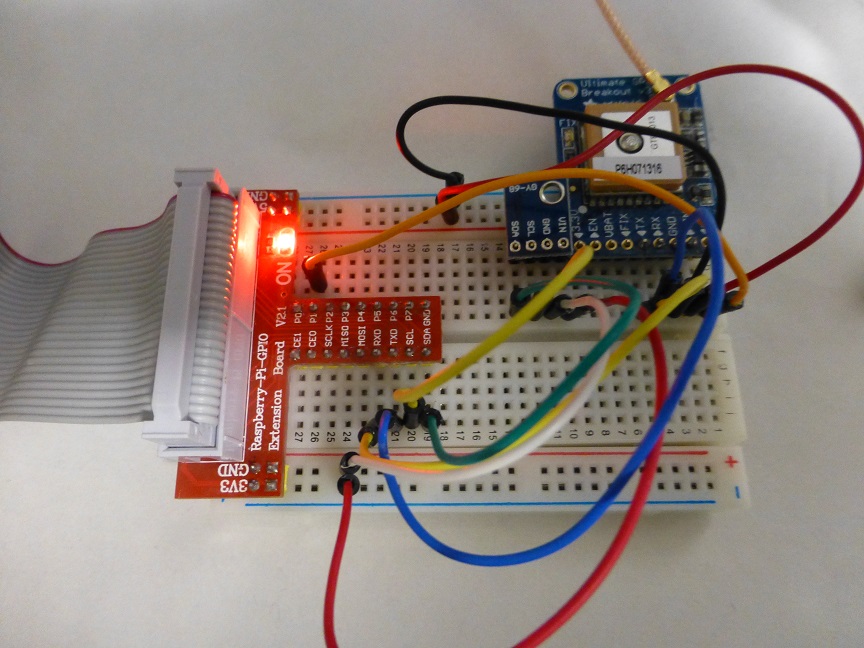
このモジュール端子は4つで、VIN, GND, SCL, SDAです。それぞれRaspberry Piの3V、GND、SCL、SDAに接続。
GPSモジュールと違って3Vでないとダメです。ピンヘッダが付いてなかったのでGPSモジュールの横にちょっと置いてみました。ほんとは半田付けしないといけないのですが、とりあえず試してみたら動いたのでこの状態でデータを取るところまでやってみました。
設定ですが、AdafruitのBMP085のページを見てやりました。
http://learn.adafruit.com/using-the-bmp085-with-raspberry-pi/overview
1.I2Cが使えるようにする
以下の2行を/etc/modulesに追加
i2c-bcm2708
i2c-dev
必要なツール類をインストール
sudo apt-get install python-smbus
sudo apt-get install i2c-tools
Raspberry Piを再起動します。
2.BMP180がI2Cでつながったかどうかテスト
sudo i2cdetect -y 1
0 1 2 3 4 5 6 7 8 9 a b c d e f
00: — — — — — — — — — — — — —
10: — — — — — — — — — — — — — — — —
20: — — — — — — — — — — — — — — — —
30: — — — — — — — — — — — — — — — —
40: — — — — — — — — — — — — — — — —
50: — — — — — — — — — — — — — — — —
60: — — — — — — — — — — — — — — — —
70: — — — — — — — 77
3.Pythonのライブラリを使う
Adafruitが用意したPython のライブラリを使います。
https://github.com/adafruit/Adafruit-Raspberry-Pi-Python-Code
$ sudo apt-get install -y python3 python3-pip python-dev
$ sudo pip3 istall rpi.gpio
$ git clone https://github.com/adafruit/Adafruit_Python_BMP.git
$ cd Adafruit_Python_BMP
$ sudo python setutp.py install
サンプルを動かしてみましょう。
$ python ./examples/simpletest.py
Temp = 29.00 *C
Pressure = 100528.00 Pa
Altitude = 66.82 m
Sealevel Pressure = 100517.00 Pa
拍子抜けするくらいあっさり動きました。
あとはMRTGで使いやすいようにサンプルスクリプトをちょこちょこっと修正し、MRTGのグラフにしてみました。

気圧はそのままだと見にくいので900を引いた値にしてあります。