Customize Consent Preferences

We use cookies to help you navigate efficiently and perform certain functions. You will find detailed information about all cookies under each consent category below.

The cookies that are categorized as "Necessary" are stored on your browser as they are essential for enabling the basic functionalities of the site. ... 

Always Active

Necessary cookies are required to enable the basic features of this site, such as providing secure log-in or adjusting your consent preferences. These cookies do not store any personally identifiable data.

No cookies to display.

Functional cookies help perform certain functionalities like sharing the content of the website on social media platforms, collecting feedback, and other third-party features.

No cookies to display.

Analytical cookies are used to understand how visitors interact with the website. These cookies help provide information on metrics such as the number of visitors, bounce rate, traffic source, etc.

No cookies to display.

Performance cookies are used to understand and analyze the key performance indexes of the website which helps in delivering a better user experience for the visitors.

No cookies to display.

Advertisement cookies are used to provide visitors with customized advertisements based on the pages you visited previously and to analyze the effectiveness of the ad campaigns.

No cookies to display.

カスタムROM作成へのはじめの一歩

zip contents

私のHT-03Aは、NAND ROMのBootパーティションに不良があって、

  • CyanogenMod Recovery 1.4 のメニューから .zip ファイルの書き込みはできる
  • flash_image コマンドを使うと 0x000C0000 の erase エラーが起きて1ブロックスキップしてしまうため、bootパーティションと同じサイズのboot.img の書き込みができない。(nandroid はBootパーティションまるごとdumpし、そのrestore にflash_image を使っている)

という状態である。

だから、パッチのあたった boot.img がパーティションと同じサイズだった場合、boot.imgを flash_image で書き換える、なんていうことができなくて困った。そこでどうしたかというと、自分でboot.imgを差し替えたカスタムROMの .zip ファイルを作り、リカバリーモードのメニューから適用した。

事の発端はこれ、

[MOD] RAM Increase patched kernels and boot.img

この boot.img の差し替えでLinuxの使用メモリが拡張され、ずいぶん快適らしいという話なのでやってみたかったが、前述のような状況である。要はカスタムROM相当の.zipファイルなら書けるので、カスタムROMが作れればいいのである。で、そのやり方がここにある。

[GUIDE] How to create a your own ROM

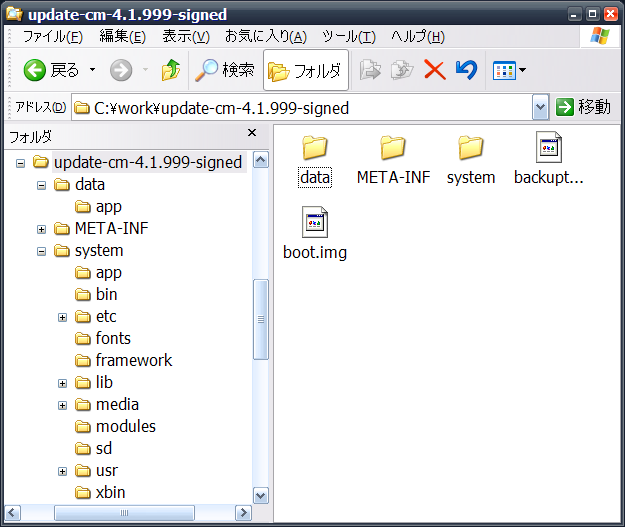
今回は、CyanogenMod 4.1.999 を使って、boot.img の差し替えだけしたかったので、前半は関係ないのでスキップ。
具体的には、

  • CyanogenMod 4.1.999 のZIPファイルを展開する。
  • boot.img を差し替える。
  • 再度 ZIP化する
  • ZIPファイルに署名をする

カスタムROM ZIPファイルへの署名の仕方は、こっちに書いてある

[How-To] Signing ROMs

この方法で、boot.img だけ差し替えたカスタムROMを作成し、再度、ROMを書き換えた。free で確認するとちゃんと107MほどのRAMが使用されている。

ところで、カスタムROMのZIPファイルの中身というのは、system と data についてはイメージではなく実際のファイルツリーになっている。なので、例えば、自分でファイルの追加やら入れ替えやらカスタマイズしたいところはカスタマイズして、ZIPで固めて署名すれば、自分用のカスタムROMというのも作れそうな気がする。

PAGE TOP