少し前に日経のRaspberry Piの特別セットなるものを買ったのですが、これにGPSを付けてみようと思ってモジュールを一つ買ってみました。この手の電子工作っぽいことはまったく初めてです。
いろいろ調べてみると、こういう用途に使えるGPSモジュールはたくさん売っていて、Raspberry PiやArduinoでの例もたくさんあります。
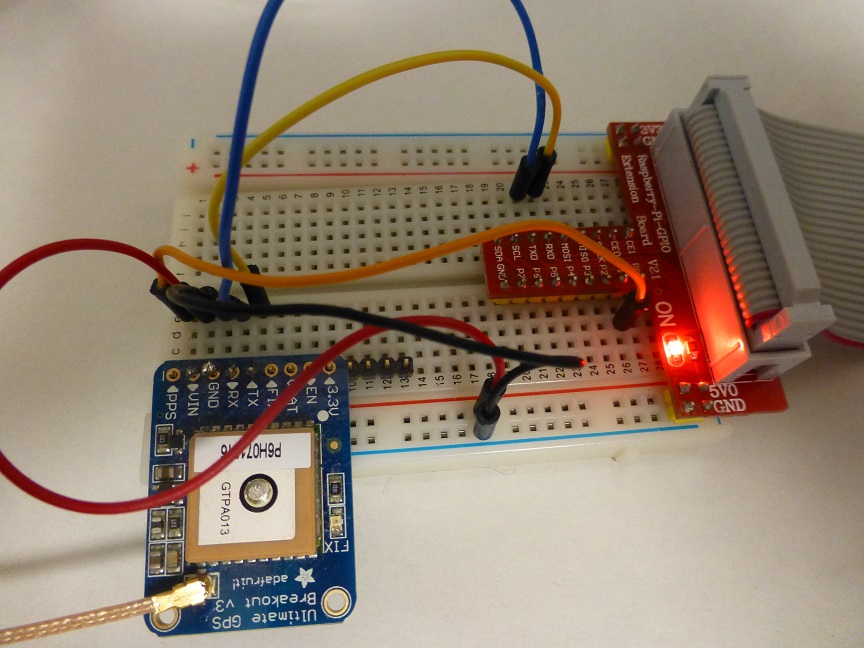
それで、結局、Adafruit Ultimate GPS Breakout というのにしました。
http://www.adafruit.com/products/746
Adafruitのサイトから直接買いました。ブレッドボードや配線用のワイヤも買って、ついでに、あると便利そうだったのでGPS Antennaも買っちゃいました。
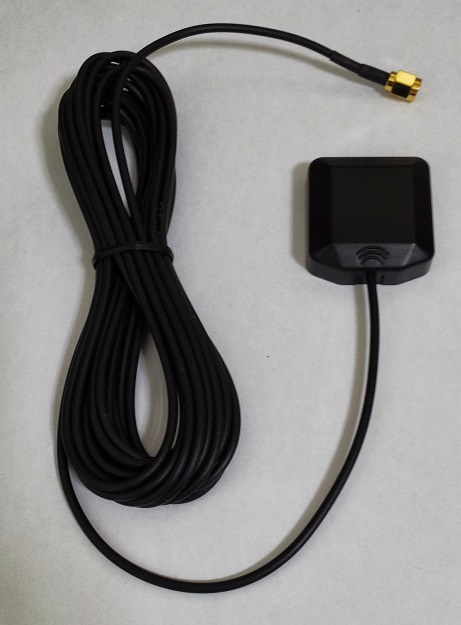
このモジュールはGPSアンテナを内蔵しているので、このままでも使えるのですが、アンテナ接続用の端子もついていて外部アンテナを接続して使うこともできます。
このモジュールはSBASに対応していますし、さらにQZSSにも対応しているというすぐれものです。
ところで、Raspberry Piへの接続ですが、モジュールのシリアルポートの出力をUSBに変換するケーブルにしちゃいました。Raspberry PiのUSBポートに挿して、はい、おしまい。なので、電子工作というほどのものではありません。
ただ、モジュールをブレッドボードにとりつける部分で、ちょっと半田付けをしましたけど。
使い方はここらへんに出ております。
http://learn.adafruit.com/adafruit-ultimate-gps-on-the-raspberry-pi/introduction
簡単にまとめておくと
(1)USBーTTLシリアルケーブルの赤、黒、緑、白の線をそれぞれGPSモジュールのVIN, GND, RX, TXにつなぎます。ケーブルをRaspberry PiのUSB端子に接続します。
(2)/dev/ttyUSB0 があることを確認します。sudo lsusb というコマンドの出力に”Prolific Technology, Inc. PL2303 Serial Port” という文字列があるかどうか確認します。
(3)sudo cat /dev/ttyUSB0 してGPSモジュールからデータが来ているかどうか確認します。
(4)sudo apt-get install gpsd gpsd-clients python-gps で必要なソフトウエアをインストール
(5)sudo gpsd /dev/ttyUSB0 -F /var/run/gpsd.sock
(6)cgps -s で測位結果をみることができます。
また、USB-TTLシリアルケーブルではなくRaspberry PiのUARTを使う場合は以下のようにします。
(1)GPSモジュールのVIN、GND、RX、TXをRaspberry Piの5V、GND、TX、RXにつなぎます。TXはRXに、RXはTXにつなぎます。このGPSモジュールは5Vをつないでも大丈夫です。
(2)/boot/cmdline.txt を編集し、ttyAMA0 という文字列を含む項目を削除します。(console=ttyAMA0,115200 と kgdboc=ttyAMA0,115200)
(3)/etc/inittabを編集し、T0:23:respawn:/sbin/getty -L ttyAMA0 115200 vt100という行をコメントアウトします。
(4)Raspberry Piを再起動します。
(5)gpsd を起動します。/dev/ttyUSB0 が /dev/ttyAMA0 に変わる他はUSBの場合と同じです。
USB-TTLシリアルケーブルを使う場合はUSB接続なので、PCに付けて動かすこともできます。どんな感じなのかちょっと動かして、PCでログを取ってみました。
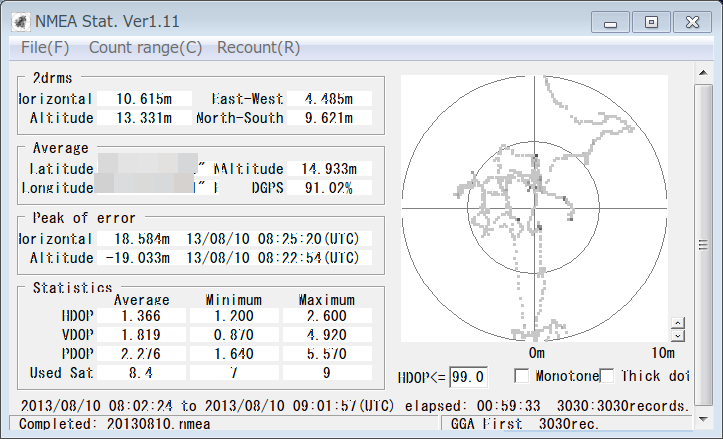
場所は自宅のベランダなので北側はあまり見えないはずなのですが意外と北側の衛星もとれていました。2DRMSは10.61mとまあまあの値です。ほぼ天頂に見えていたQZSS衛星も捉えていましたし、SBASによるDifferential GPS測位も行っていました。