Customize Consent Preferences

We use cookies to help you navigate efficiently and perform certain functions. You will find detailed information about all cookies under each consent category below.

The cookies that are categorized as "Necessary" are stored on your browser as they are essential for enabling the basic functionalities of the site. ... 

Always Active

Necessary cookies are required to enable the basic features of this site, such as providing secure log-in or adjusting your consent preferences. These cookies do not store any personally identifiable data.

No cookies to display.

Functional cookies help perform certain functionalities like sharing the content of the website on social media platforms, collecting feedback, and other third-party features.

No cookies to display.

Analytical cookies are used to understand how visitors interact with the website. These cookies help provide information on metrics such as the number of visitors, bounce rate, traffic source, etc.

No cookies to display.

Performance cookies are used to understand and analyze the key performance indexes of the website which helps in delivering a better user experience for the visitors.

No cookies to display.

Advertisement cookies are used to provide visitors with customized advertisements based on the pages you visited previously and to analyze the effectiveness of the ad campaigns.

No cookies to display.

@font-your-faceモジュールでWEBフォントを使う

Drupalには、@font-your-face というWEBフォントを使うためのモジュールがあります。これを用いてGoogle Web Fonts とさくらのサーバ上に置いたローカルフォントとを使ってみました。

設定は恐ろしく簡単でした。

1) 通常のモジュールと同じように @font-your-face モジュールをインストールします。

@font-your-face、@font-your-face UI、Google Fonts API、Local Fontsを有効にすればOK。他のモジュールは Google Web Fonts以外のWeb Fontsサービスを使う時にインストールします。

2) Local Fontsを取り込みます。

環境設定>ユーザーインターフェイス>@font-you-face settings からフォントをImportします。CSS Font Familyは適当な名前をつけ、Font Syle, Font Weightはノーマルにしました。Importしたのは Fortune Cityというフリーなフォントです。ページ左上のサイト名に使っています。

3) Google Web Fontを有効化します。

テーマ管理メニュー内に設定があります。Browse all fontsタブで適当なフォントを選択して有効化します。Google Web Fontsの中から Questrial というフォントを選んでみました。
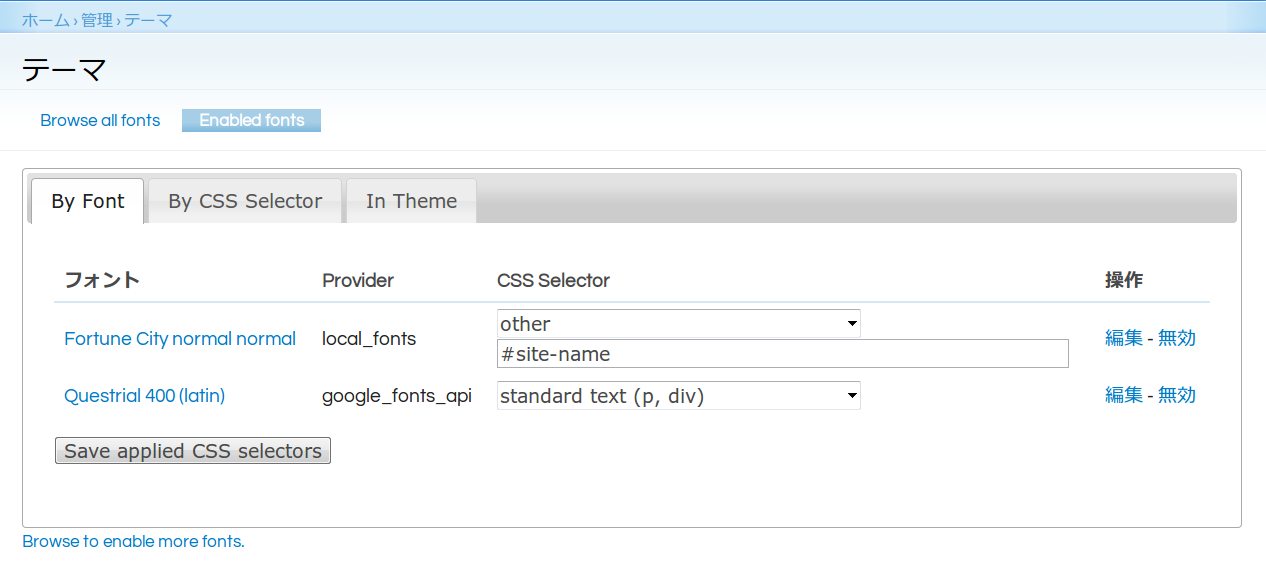
4) CSS Selectorの設定

有効化したフォントはEnabled fontsタブにリストされるのでCSS Selectorの設定をします。Questrialの方は通常のテキスト(p, div)で使うことにしました。Fortune Cityの方はサイト名だけなので、#site-name というIDを指定しています。
By CSS SelectorというタブでFallbacksを設定しておいた方がよいようです。

これだけでOK。特にCSSファイルをいじったりする必要もありませんでした。

PAGE TOP